You wonder how you can add navigation menu in your new WordPress site? And you would like to know that there is a very easy drag-and-drop menu interface that allows you to create drop-down menus in WordPress.
In this step by step guide, we will show you how to add navigation menu in WordPress.
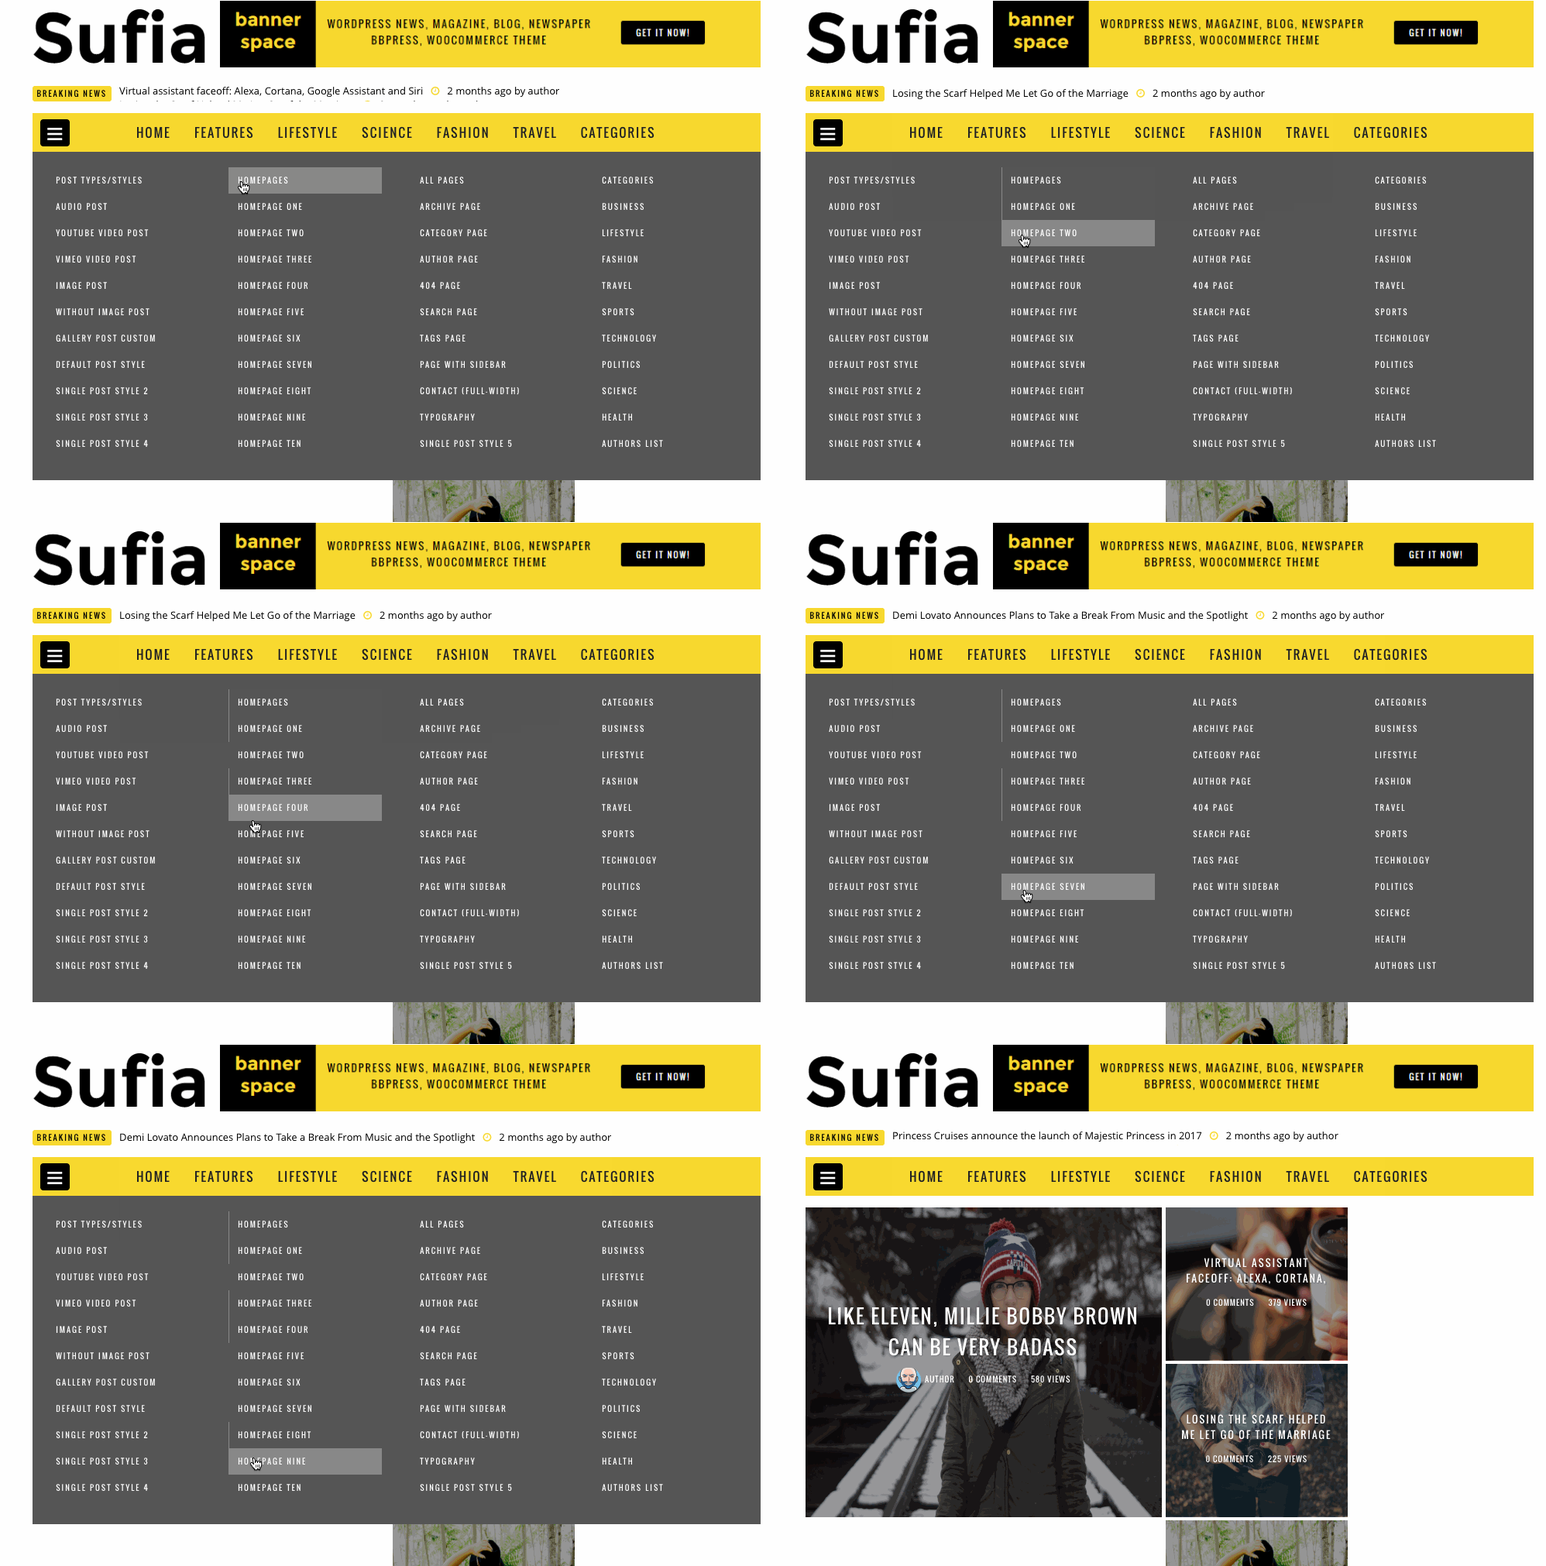
Navigation menu is too important for every well-design website. It’s useful links menu that guides the user around a website helping them discover what they’re looking for. Since navigation menus are so important, they are usually placed close to the header in most WordPress themes.

Creating Your First Navigation Menu in WordPress
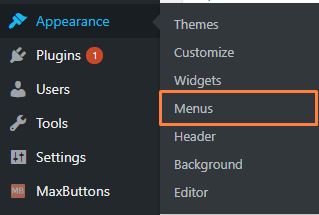
You must log in to your WordPress dashboard to perform above step. Once you logged navigate Appearance » Menus in your WordPress admin area.

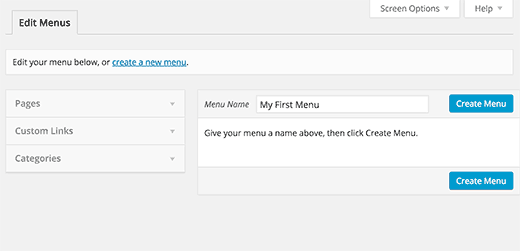
This will bring you to the Edit Menus screen as shown below image. As you can see the page is Split in two column. In the left column, you’ll get pages, categories, and custom links tab. The column on the right is where you add and adjust menu items.

Now you must define a menu before you can add items to it by creating a new menu.
- Click on Create a new menu at the top of the page
- Enter a name for your new menu in the Menu Name box
- Click the Create Menu button
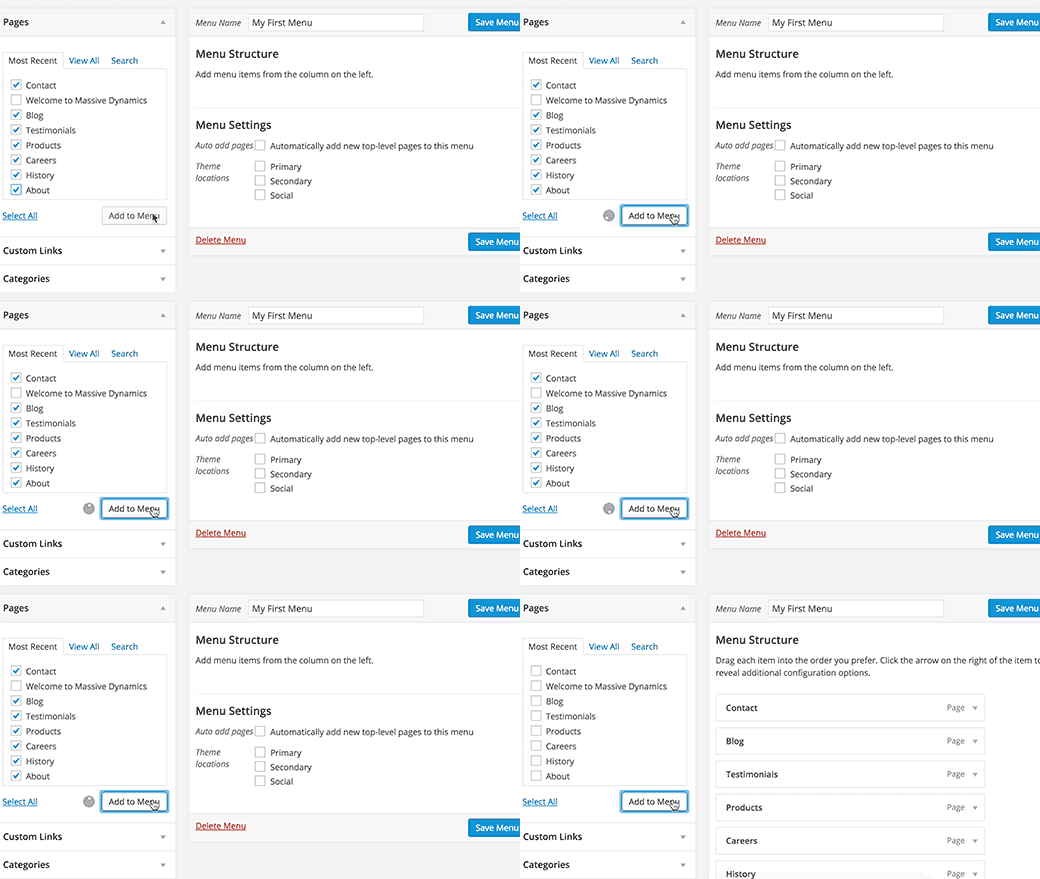
Once you created a menu, you need to select the pages you want to add to the menu. You can do this by selecting the pages listed on the left-hand side and clicking on Add to Menu button just like below image.

Next, you have to decide the location of your menu. In menu setting just below menu structure, you’ll see Theme locations so select the theme location where you want to display the menu and click on the ‘Save Menu’ button. You should visit the website to see the menu in action. If you don’t like it, then you can always change the menu location.